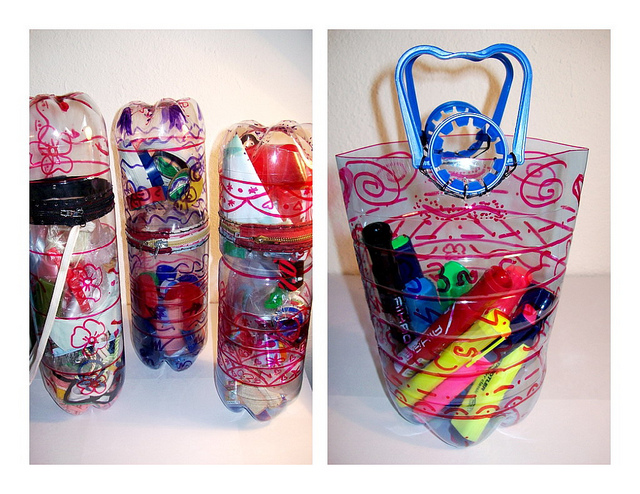
As you can see this is a little different but pretty much the same idea. Like they don’t have string or cardboard included.Don’t be afraid to get creative with your Really Cool Recycled Purse.
I love doing arts & crafts projects with my friends. It is a great way to make your mind work and have fun at the same time. Plus these are some earth-friendly ideas to try. Lets get started!!!
This project requires: (make sure the cap is wide, you can cut it if you want, but make sure you can cover it) 2 plastic bottles (if you want to make more increase the amount), sparkles , small piece of cardboard, streamers, glue on eyes, string, and pretty much anything else you want to add to your designer made container.
- Take one of your plastic bottles and take all the labels off.
- Then decorate your bottle(s) up to halfway with any decorations you have
- Wrap some string around the bottle and tie knot
- Make the string into a handle and have the bottle as the “purse”
- Now you can put a small piece of cardboard on top of your décor so it wont spill
- Then put in anything you want in it and wear it like a purse

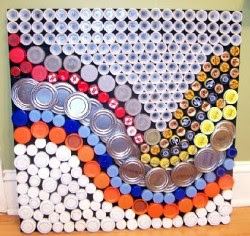
Here is an example of what your Bottle Cap Art should look like. Don’t worry if its not exact. Art is about creating new things. You can also feel good inside because your helping the environment by reusing items.
This project requires: preferably 40 bottle caps (more or less depending on size of your canvas), a canvas or a sheet of hard paper, elmers gel like glue, streamers and things to decorate the boarder of paper (optional).
- Gather all your supplies up
- Take your canvas and start gluing bottle caps on
- Glue any additional décor on
- Make sure its glued on securely
- Let it dry for about an hour
- Then you have your “Bottle Cap Art”
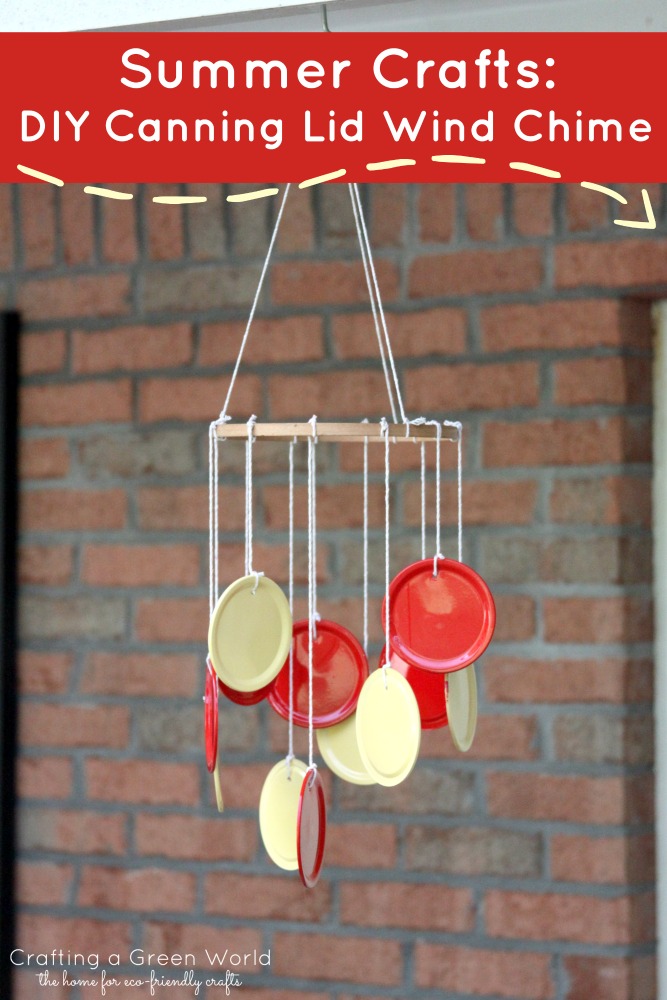
This project requires: 8-12 big container caps (circled if possible), an open wooden circle, lots of string, a hook, paint (if you would like to paint the container caps), scissors, and any additional decorating things (optional)
- Lay out all your supplies
- Cut a small whole on the tip of all the circle container caps
- Then do any decorating on the caps you would like
- Now put string through every whole, DO NOT TIE YET
- Now pick up the wooden circle and tie each cap onto it.
- The make a handle on top and attach it to the hook and hang it up outside.
- YOU HAVE MADE YOUR RECYCLED WIND CHIME!
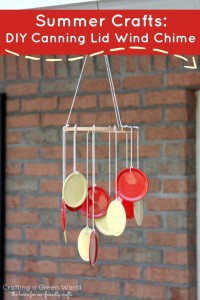
This is what your “Recycled Wind Chime” may look like. I love this example, however it would’ve been nice if they added some designs to the caps. So get creative! I would love to see how this project comes out so comment on this post.